

How To Access The Camera On Iphone Js
Accessing the Webcam with JavaScript and React
a.k.a I don't like your ugly (malware-ish) webcam software.
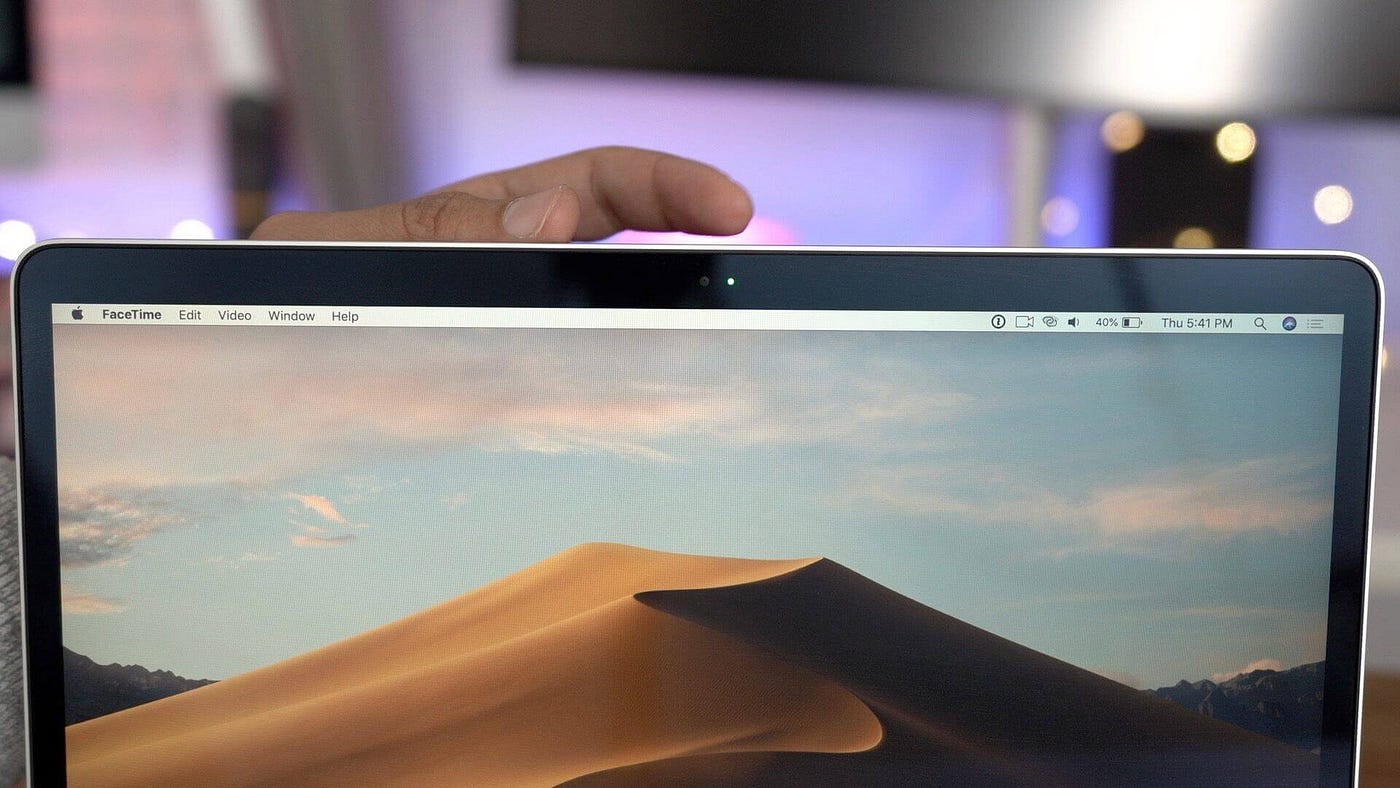
When I bought a new Microsoft LifeCam in Autumn 2020, I had to download their official software to apply it. And instantly hated it. Tried out other software too but the thing was, they are all and then ugly and I thought to myself, "How difficult it can be to connect to my webcam with JavaScript?"
It actually is actually easy. You can create your own browser awarding to take photos, record, and even create filters. Information technology'due south all up to your imagination and inventiveness.
In this commodity, we will be talking nearly that.
First Pace
The very starting time thing we demand is to create our HTML role. I wanted to take pictures that's why I also added a push. Nosotros will fashion and modify all these in a infinitesimal.
Breaking down the code above; button is for taking a photograph of yourself. video is for our webcam stream and canvas is the place where we will be taking snapshots from our video and displaying them.
The next step is to access our web camera. To do this, we need to utilise the useRef feature of Hooks. How it's done can be seen below, we need to add together:
ref={videoRef} to the desired HTML element and admission it from the top of our component with
const videoRef = useRef(null); useRef is the React style of accessing the DOM elements. What it does is, creating a plain JavaScript object that holds some properties such equally current and it'south useful for keeping whatsoever mutable value inside. The departure from a pure object is it gives you the same ref object on every render.
The next matter to exercise is, to creating a method to get the video and stream it,
The point of interest is the keyword: navigator .
Reading directly from MDN:
The
Navigatorinterface represents the country and the identity of the user agent. It allows scripts to query it and to register themselves to carry on some activities.A
Navigatorobject tin be retrieved using the read-justwindow.navigatorproperty.
This is pretty cocky-explanatory. But I think it's amend to run across it ourselves, nosotros but need to open dev tools and type navigator on the console.
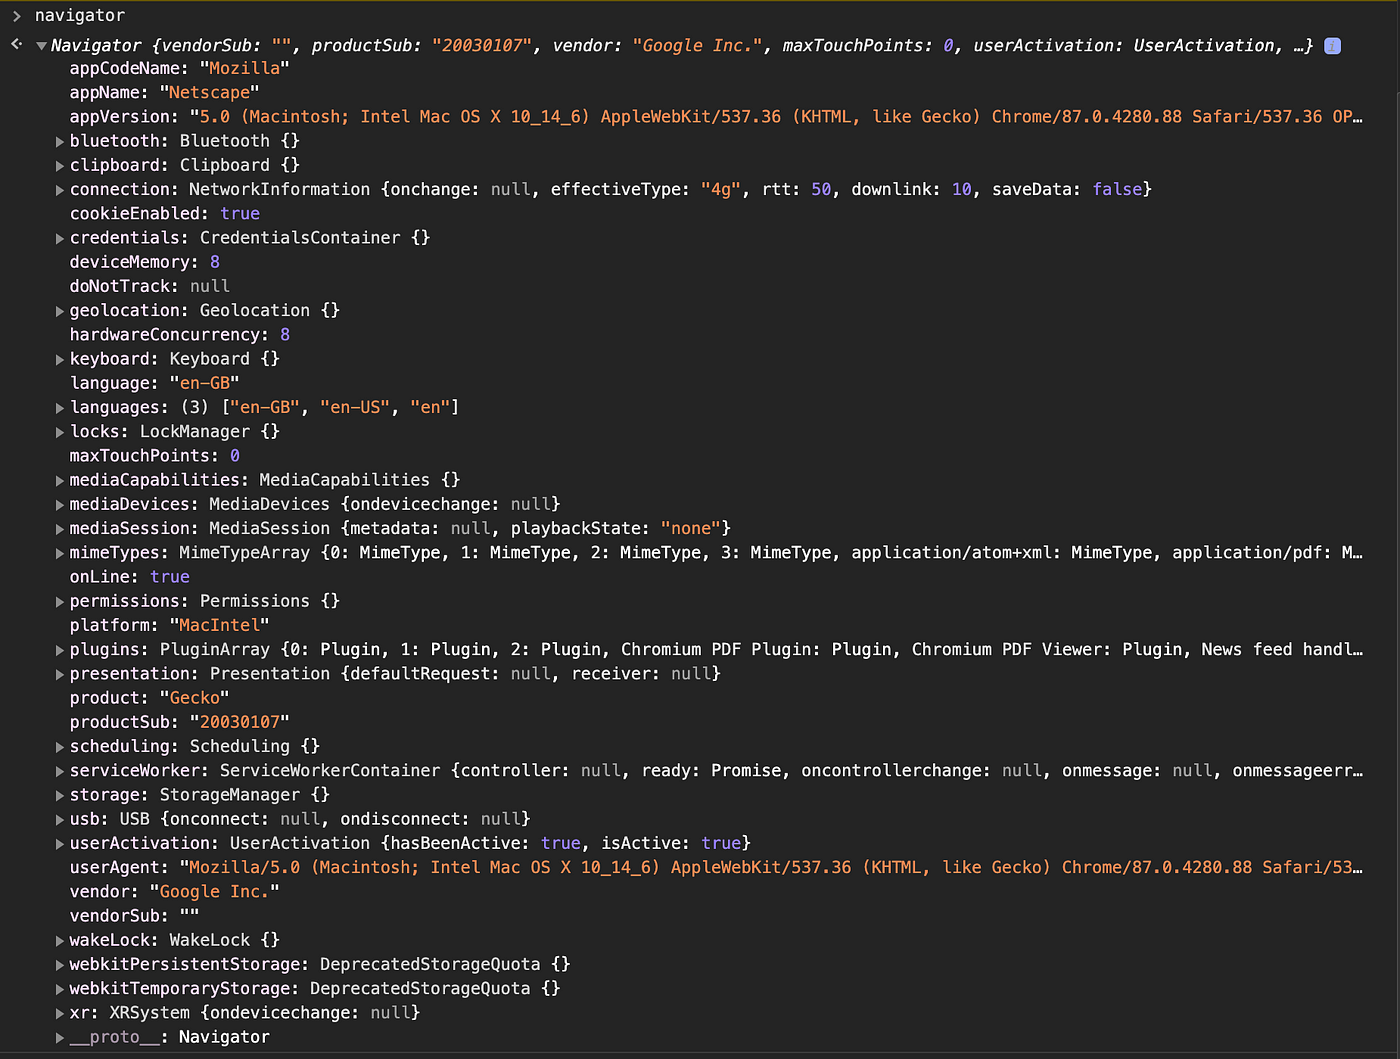
Looking closely, there is mediaDevices property inside. If we aggrandize information technology, nosotros can encounter the divers prototype, getUserMedia, which returns a promise. We will be using it to access our webcam. Directly copying from MDN over again,

navigator.mediaDevices():
Returns a reference to a MediaDevices object which can then be used to get data most available media devices (MediaDevices.enumerateDevices()), and to request admission to media using MediaDevices.getUserMedia().
On the fulfillment part of this promise, we tin can assign the video from our webcam to the video tag which nosotros accessed with useRef.
            let video = videoRef.current;
video.srcObject = stream;
video.play();
This office is all that nosotros need to admission the WebCam. How much fun you are going to get is totally upwardly to you! Create filters, effects, take a picture, and process the epitome data… Possibilities are countless!
At present your lawmaking should look something similar this:
Second Step
Taking a snapshot from the webcam we just accessed is besides easy. All we need is to create a canvas and write our data to that canvas. The most important affair hither is to getting the snapshot from the WebCam and rendering information technology every bit a 2D context.
Then, every 200ms, nosotros will exist writing that second context into our Canvas.
To stop cartoon, nosotros need to set the video source to cypher and employ stop() on our tracks from the stream. Something like this is enough:
At this signal, you should take your webcam playing on one side, and a canvas that is updating with time intervals.
.toDataURL()
To take a movie from our webcam snapshot to canvas, nosotros need to utilise toDataURL
This method returns a data URI, containing a representation of the image in the format specified by the type parameter. By default, it'south PNG. Chrome also supports the prototype/webp type.
canvas.toDataURL('prototype/jpeg', one.0); the role later on the comma specifies the quality of the photo from 0 to 1.
After that, the only affair we need to do is to create an prototype element and add the picture nosotros took as a source. I besides added an attribute for the states to download it.
link.setAttribute("result-name", "name-for-the-image"); Before going to the adjacent step here is how your code should await similar:
Fun Part
For the sake of this commodity, I will exist adding a feature to accept a film and using 1 pixel from the webcam to add together an effect to a small scene I create. That scene is inspired by this pen by Cassie Evans
We will get a pixel from our snapshots and manipulate a scene I created. Sky volition alter accordingly with that pixel.
The Scene
To create the scene, I checked freepik and found an image with mountains. It can exist establish hither .
Now, inside the paintToCanvas function, we will add together more than lines. But earlier that, we will add this scene to our HTML function.
Do you lot see the ref usage? Again, with the aid of useRef, nosotros will add together some styles to that element in a moment.
To add those styles, I will get the first pixel from the snapshot and its color value.
Here is the terminal version:
Thank you for reading! Special thank you to Semih Onay for review and CassieEvans for letting me utilise her Codepen. Become cheque her out!
Source: https://itnext.io/accessing-the-webcam-with-javascript-and-react-33cbe92f49cb
Posted by: moorechavir49.blogspot.com
0 Response to "How To Access The Camera On Iphone Js"
Post a Comment